Signing Process DocuSign
Step-by-Step
1
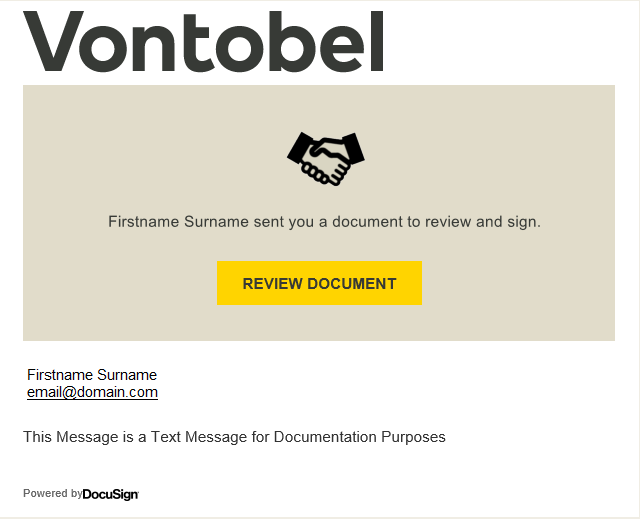
You will receive invitations to electronically sign documents by e-mail. A preview of the invitation is displayed on the left.
2
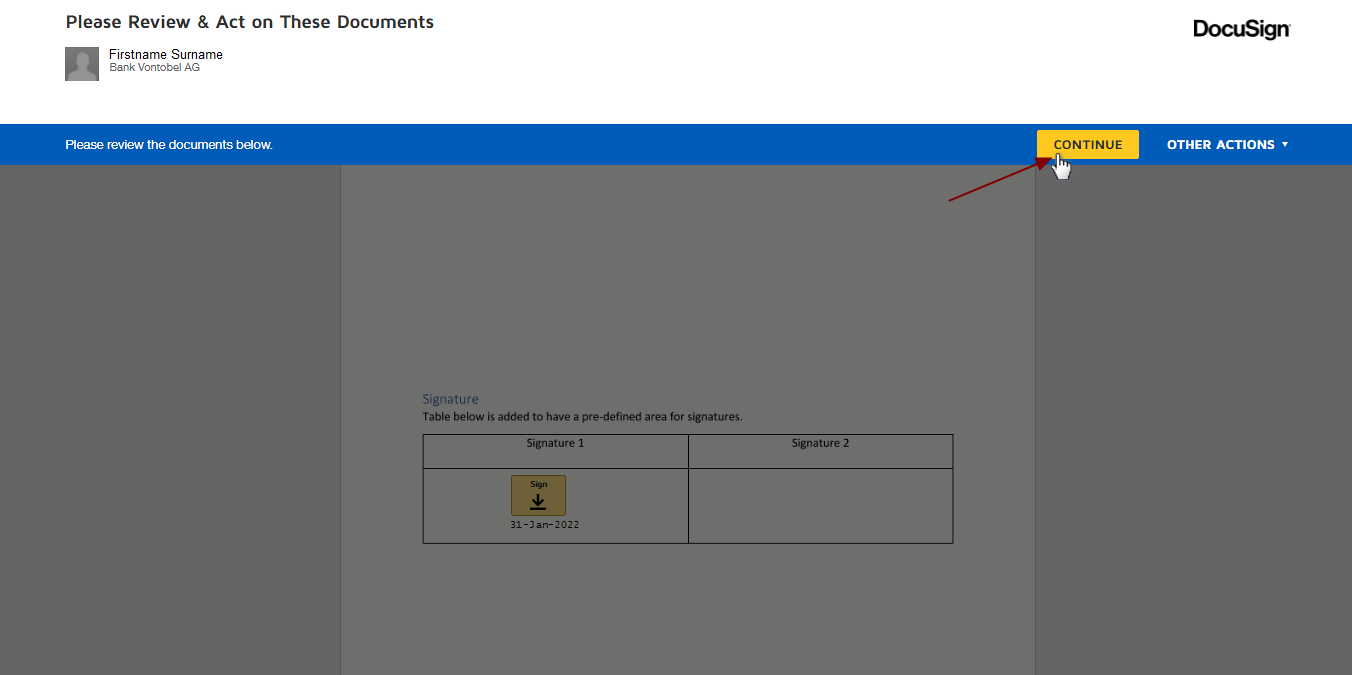
You are asked to check the document by clicking on "CONTINUE".
3
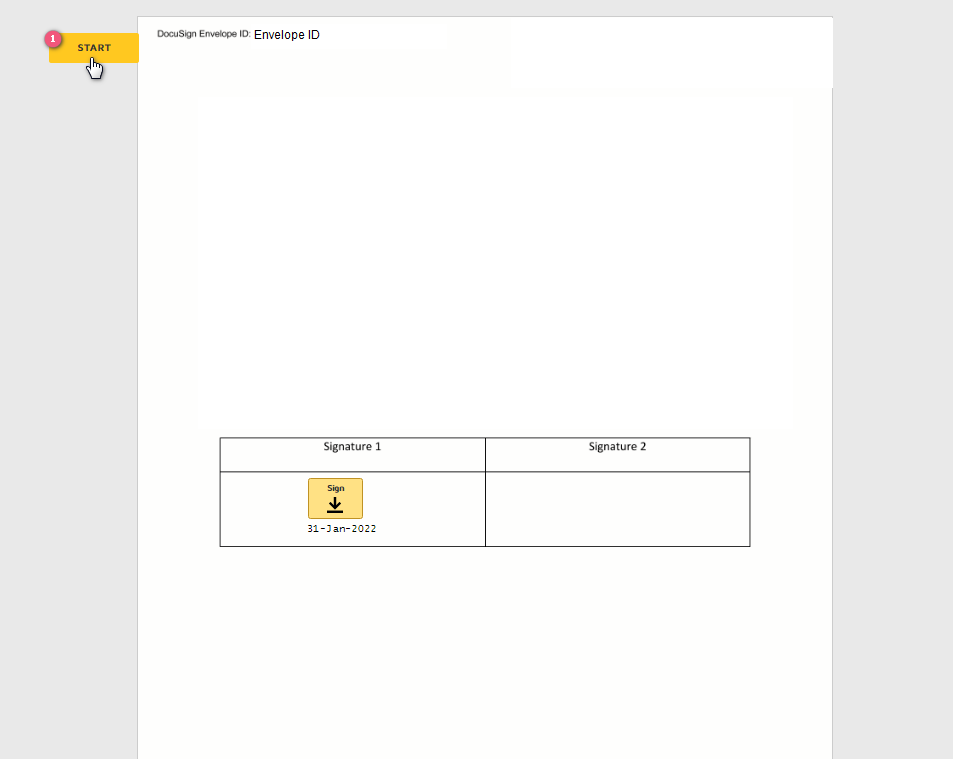
You can start the electronic signature process by clicking on the yellow assistance points on the side (e.g. by clicking on "start", you go directly to the fields to be filled in).
4
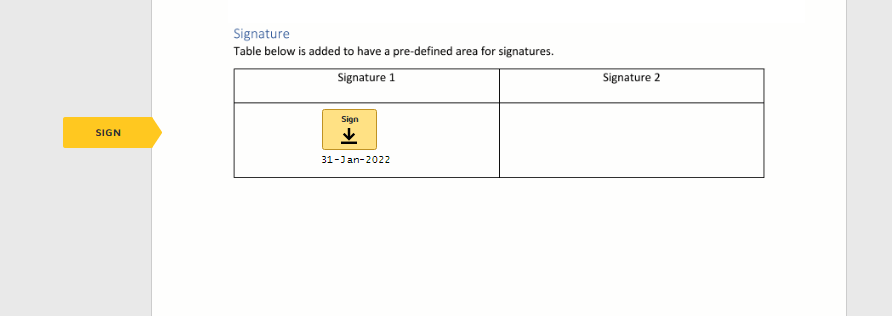
Click on the signature button ![]() to sign the document.
to sign the document.
If you click on the signature field by mistake, click on it again and you will be able to modify or delete your signature.
5
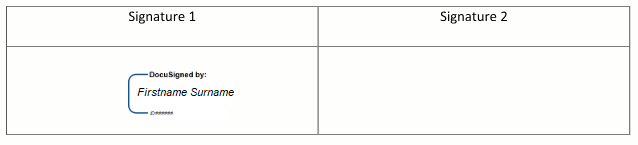
Your signature will appear.
If there are multiple fields to sign, you will be guided by clicking on the yellow guidance points on the side.
After filling in all the required fields, you can click on "Finish" at the top or bottom of the page.
6
Once all the required fields have been completed, the ![]() appears in the top menu bar and you can complete the signing process by clicking on it
appears in the top menu bar and you can complete the signing process by clicking on it
Depending on the type of signature, you will now be asked to approve the connection with the trust provider and additional authentication factors.
7
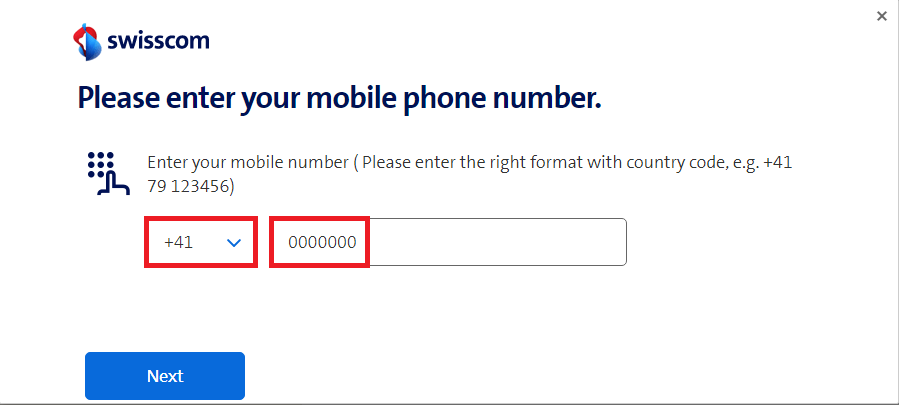
This step is specific to the Swiss electronic signature (SCSE).
You see the image on the left when you have to sign with the Swiss electronic signature (SCSE). Select your country code, in this case +41 for Switzerland. Then enter your cell phone number without spaces.
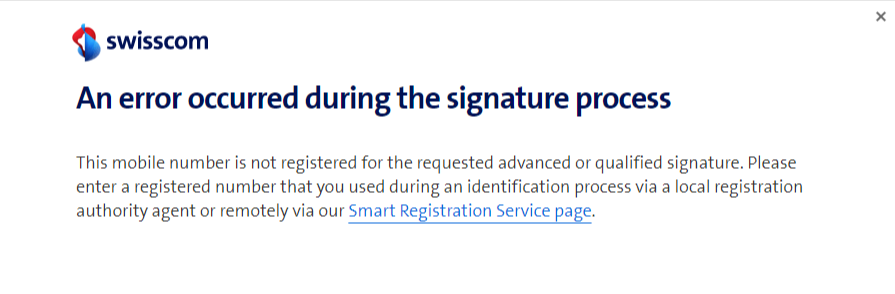
If you encounter the error shown on the left, it means that you are not yet registered for the Swiss electronic signature. To do so, please follow the instructions → Swiss registration process (SCSE) on the website.
8
This step is specific to the Swiss electronic signature (SCSE).
If all signatures have been completed, a copy of the document will be sent to all recipients of the signature by e-mail.
Open the e-mail and click on COMPLETED DOCUMENT OVERVIEW to see the signed documents.

9
The status of the document is written in the upper left corner.
- Click on
 to download the document
 - To print, click on the icon

